Nissan Skyline R32 - Window won't roll up or down FIX - DIY/How-To Guide.
RB Motoring
Window won't roll up or down in your Nissan Skyline? Here's how to fix it.
The R32 has some common faults, one of which being the windows not rolling up or down after some period of time. The typical cause of the problem is the black relay box located inside the window, although there are a few places to test first.
- Confirm your fuse is in good shape. There is a fuse under the hood that helps power the window movement - check your fusebox to see if it's blown. If you're lazy and don't want to pop your hood, you can confirm it's still working if the opposite window still works. For example, if your driver window won't roll down, but your passenger window will, your fuse is fine.
- Make sure your window motor still works. I am yet to see a window motor that has broken, but to test it you can hotwire it using a drill battery. Use bullet style connectors on two lengths of wire, and put them in the harness. Connect the open ends to the leads of the drill battery. If your motor doesn't move it is blown.
- Test your window switch. A schematic for testing can be located by clicking here.
Assuming your fuse is fine, everything else to test is located in behind your door panel.
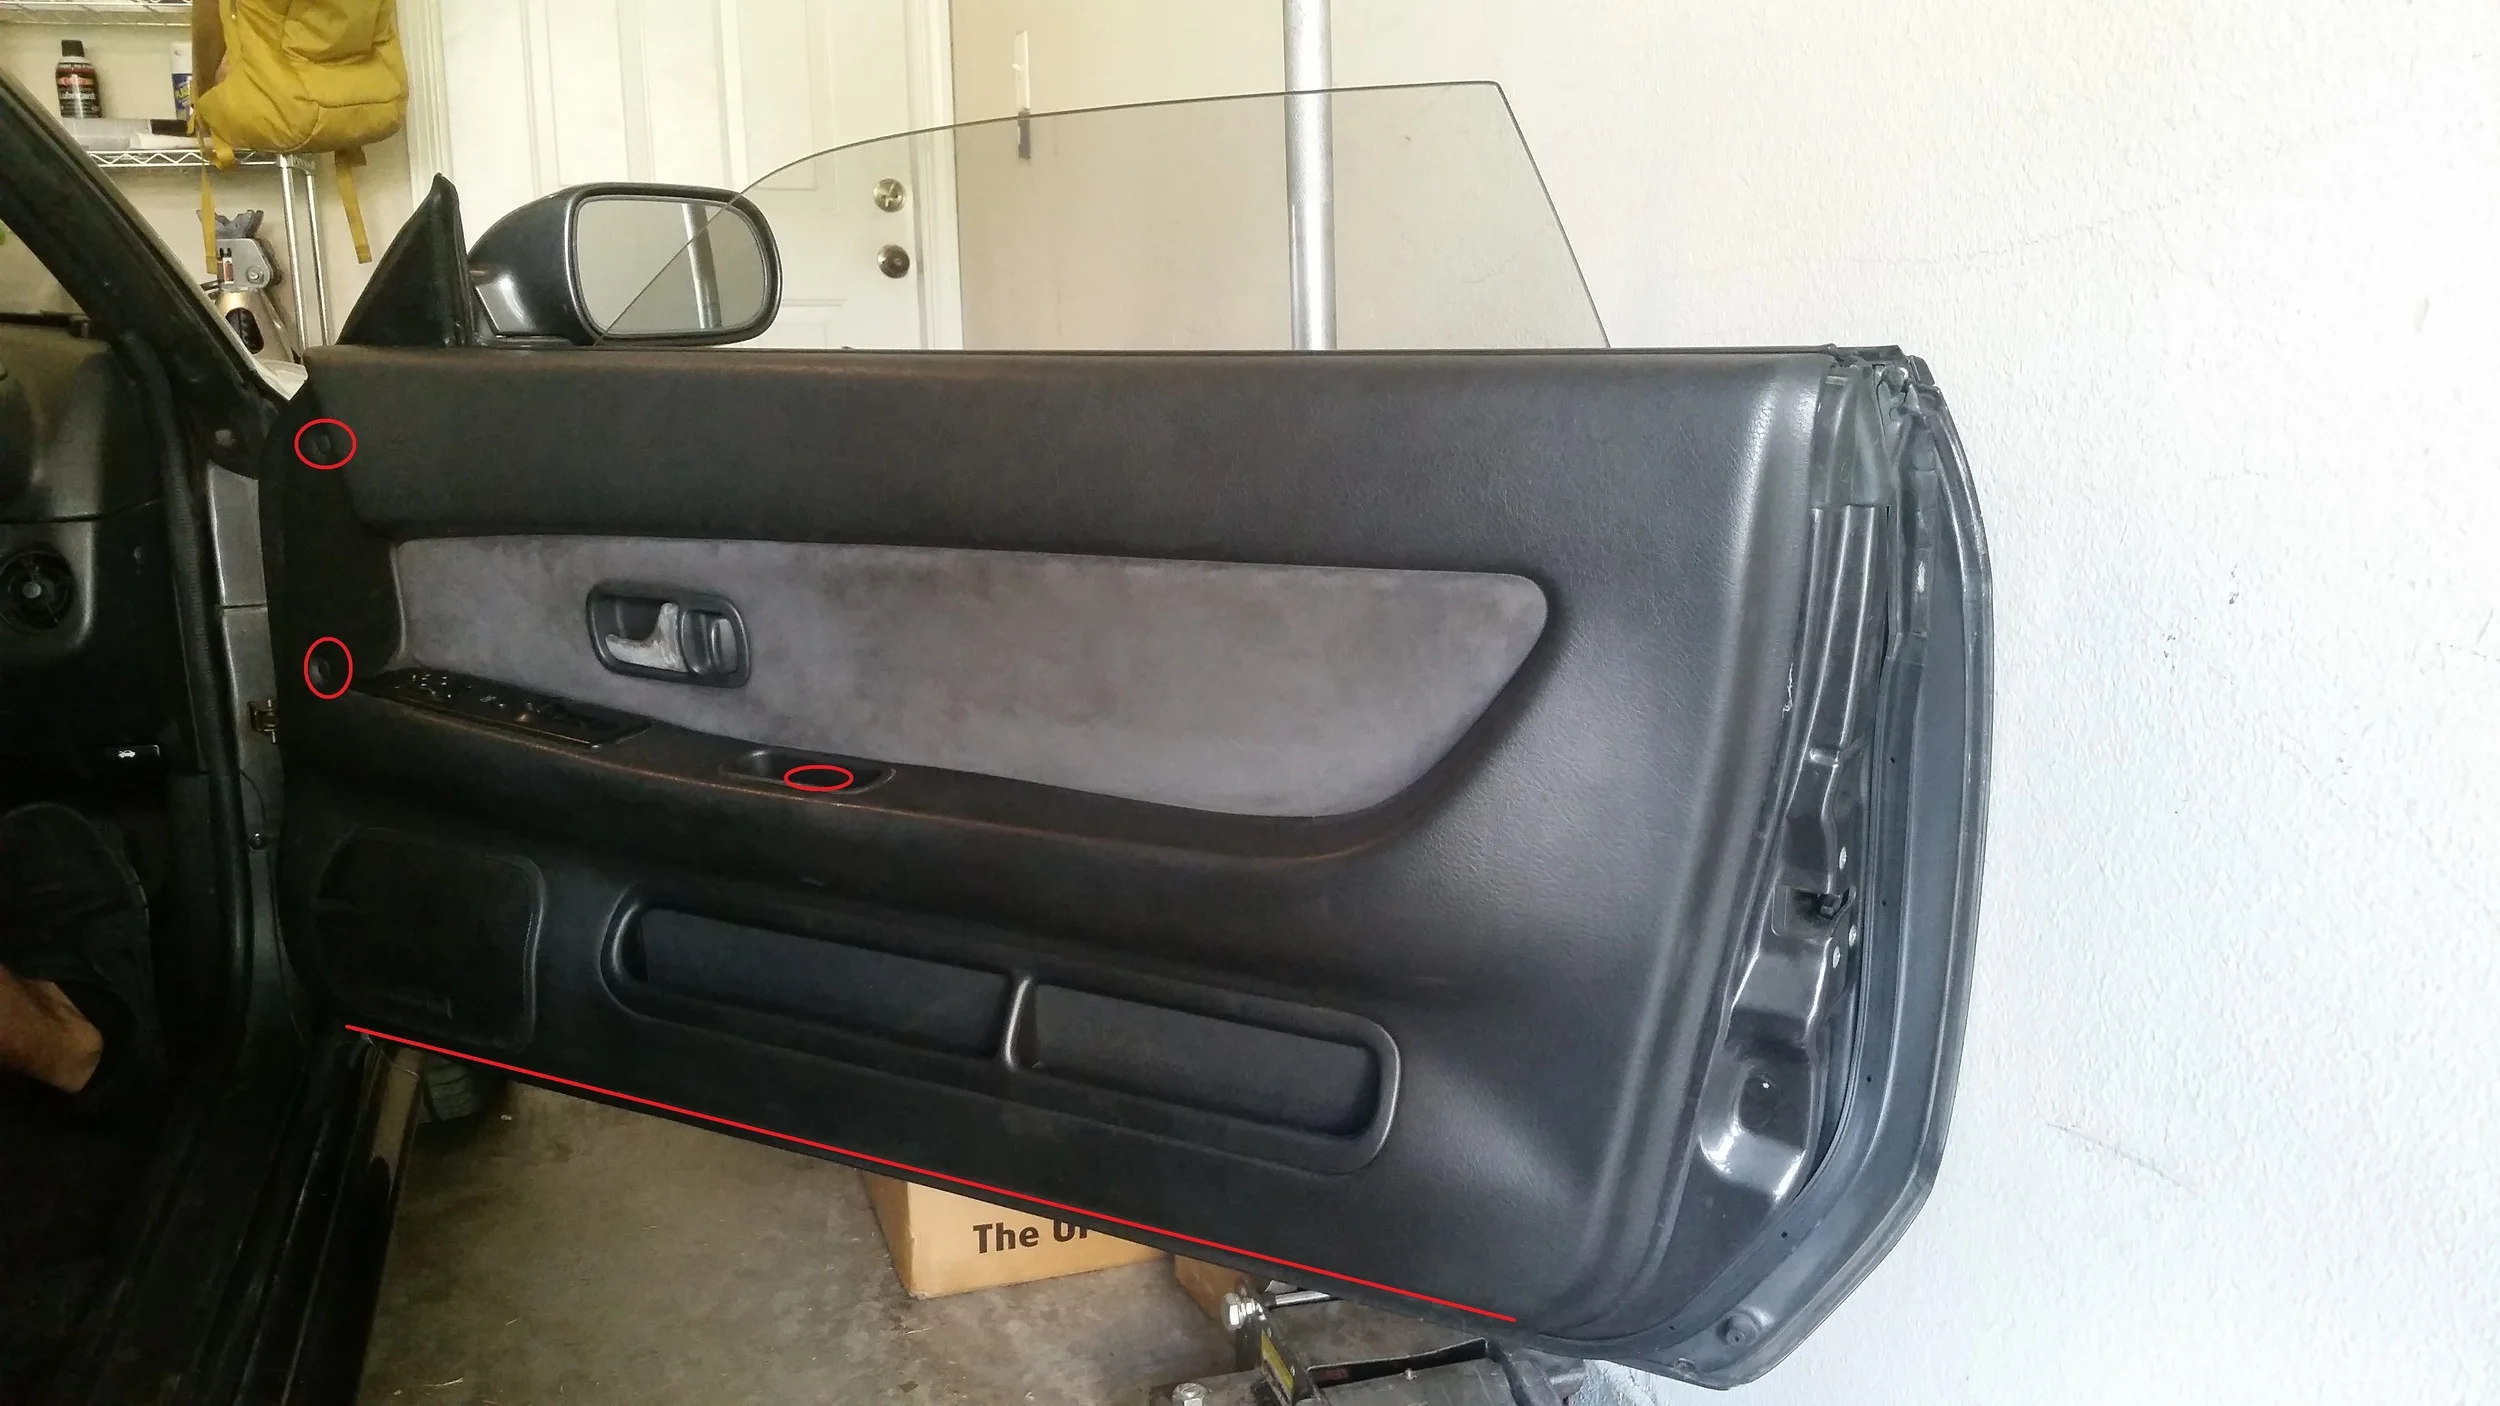
Step 1: Remove your door panel. There are a handful of Phillips head screws located around the outside edge, and one screw located inside the slot under a plastic cap - most of these locations are marked in red in the picture below. You will also need to remove the trim that surrounds the door handle, and the unplug the two plugs from window switch. There are also a few plastic anchors that hold in the door panel - pull the door panel away from the door to loosen them and then upwards to free the rubber from around the window.
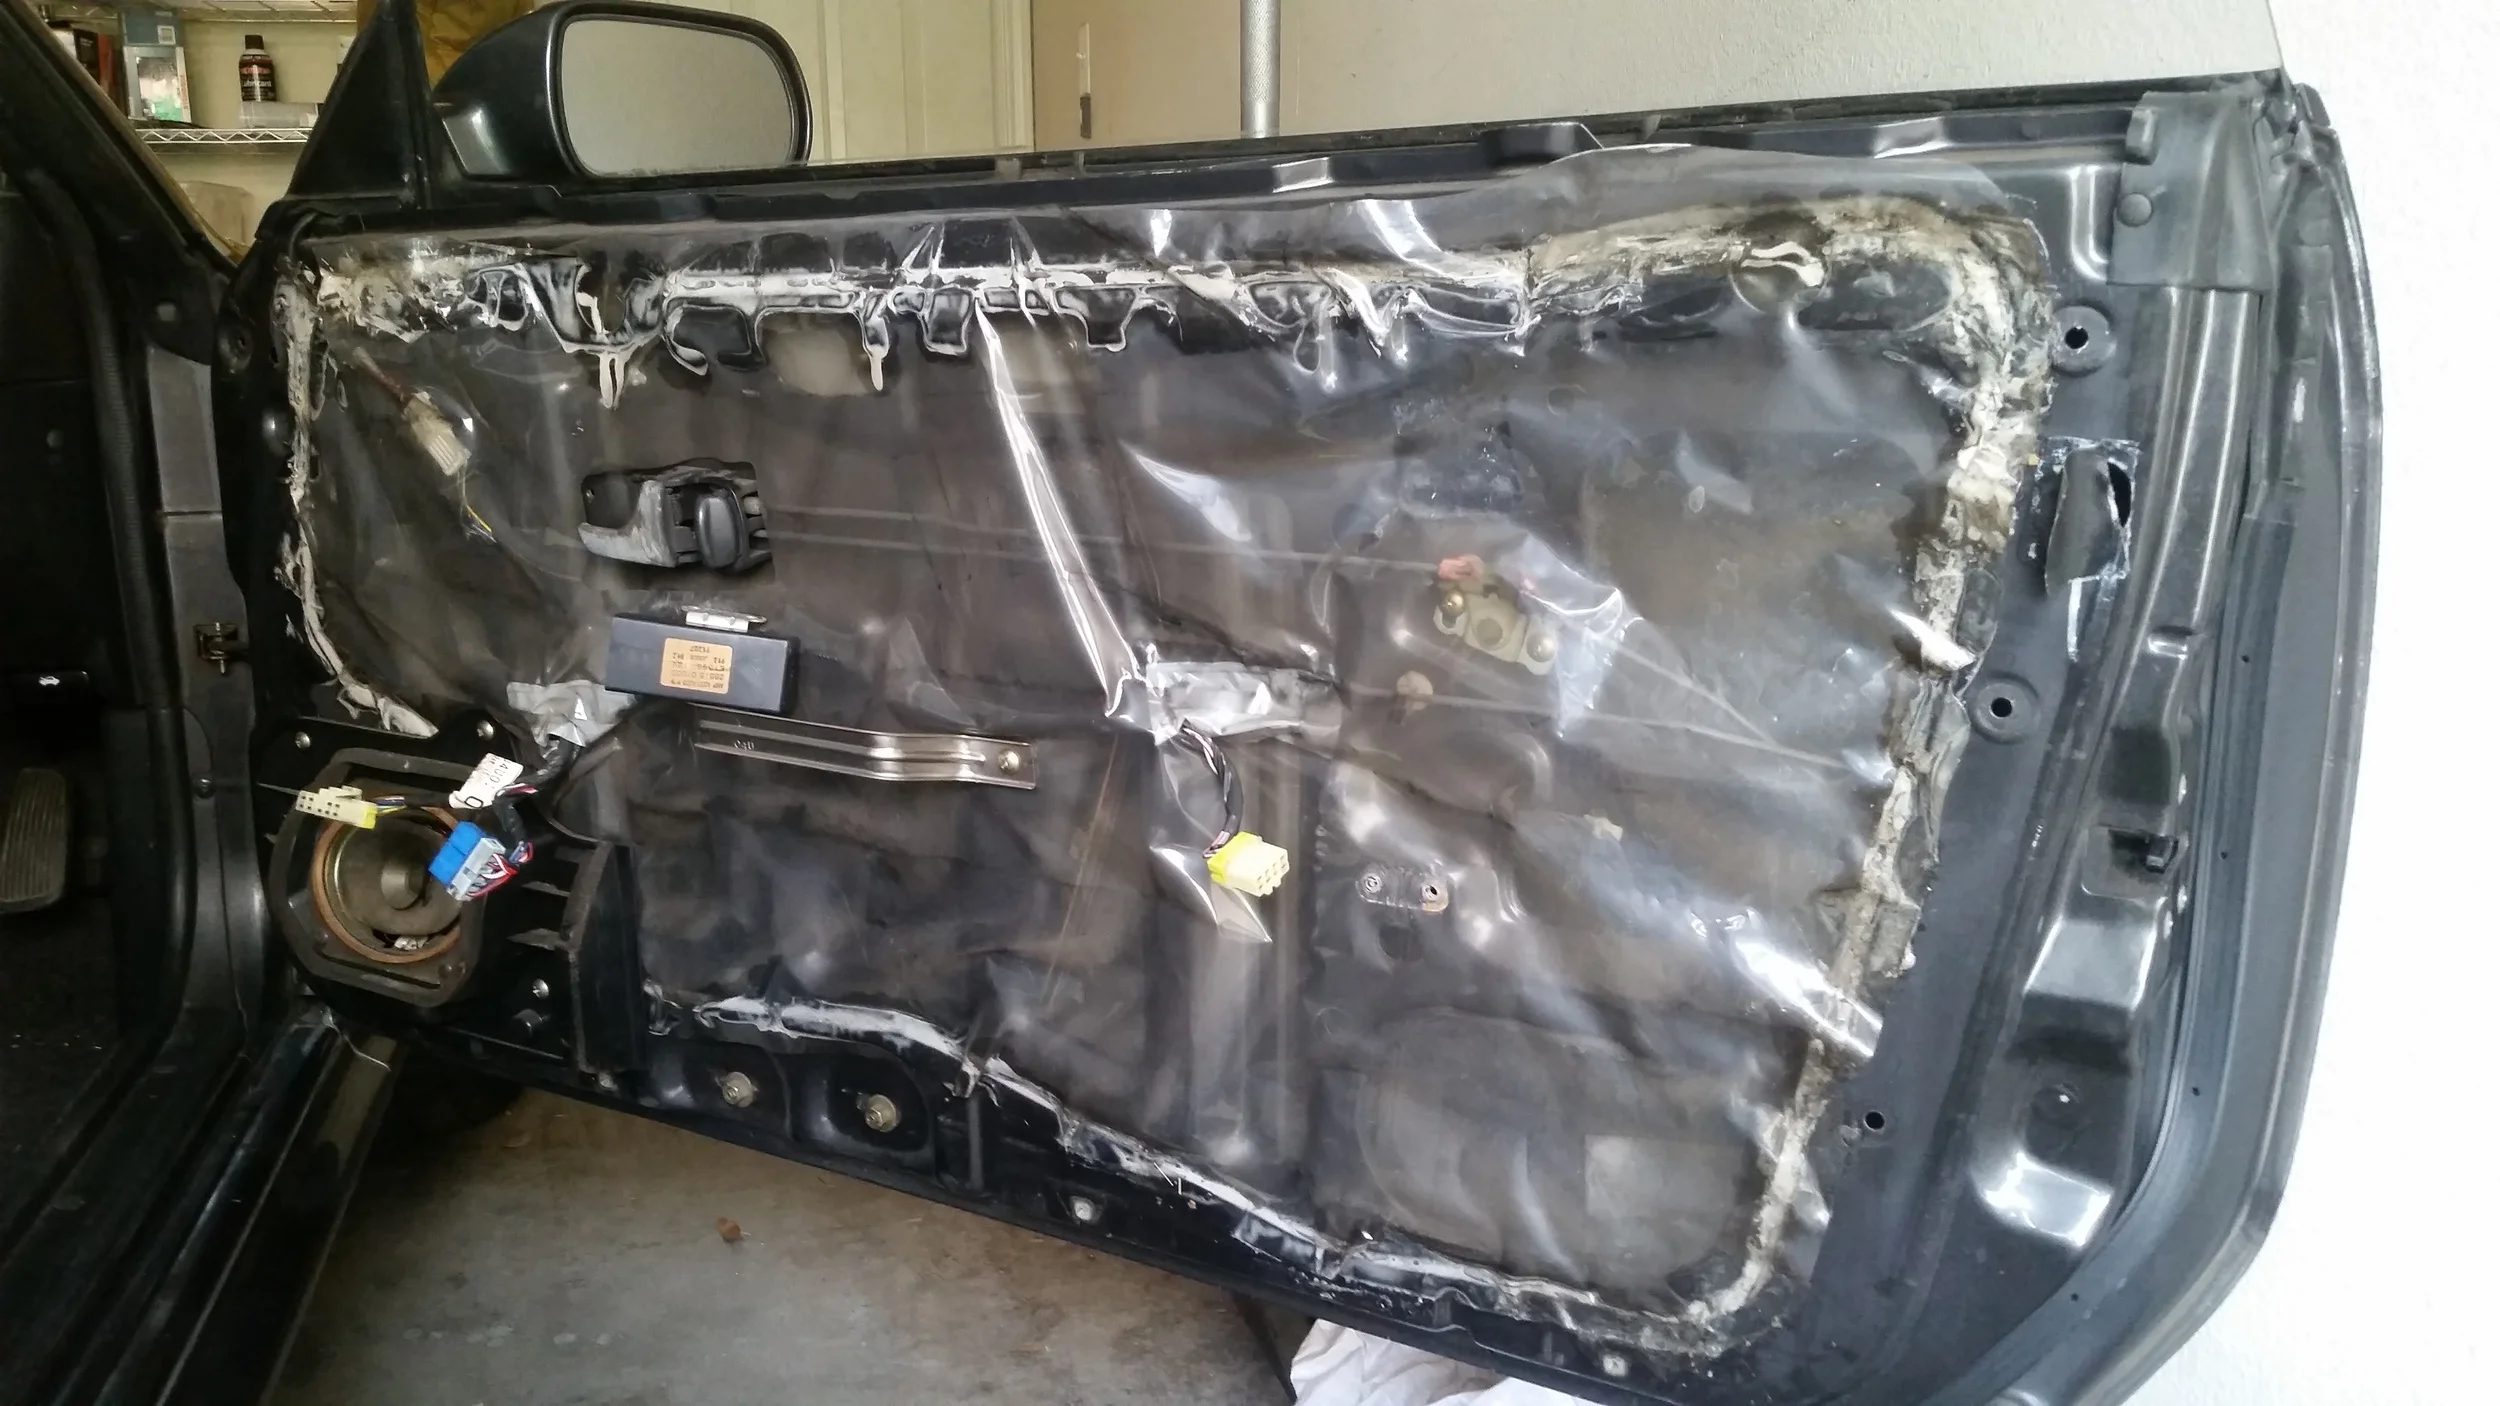
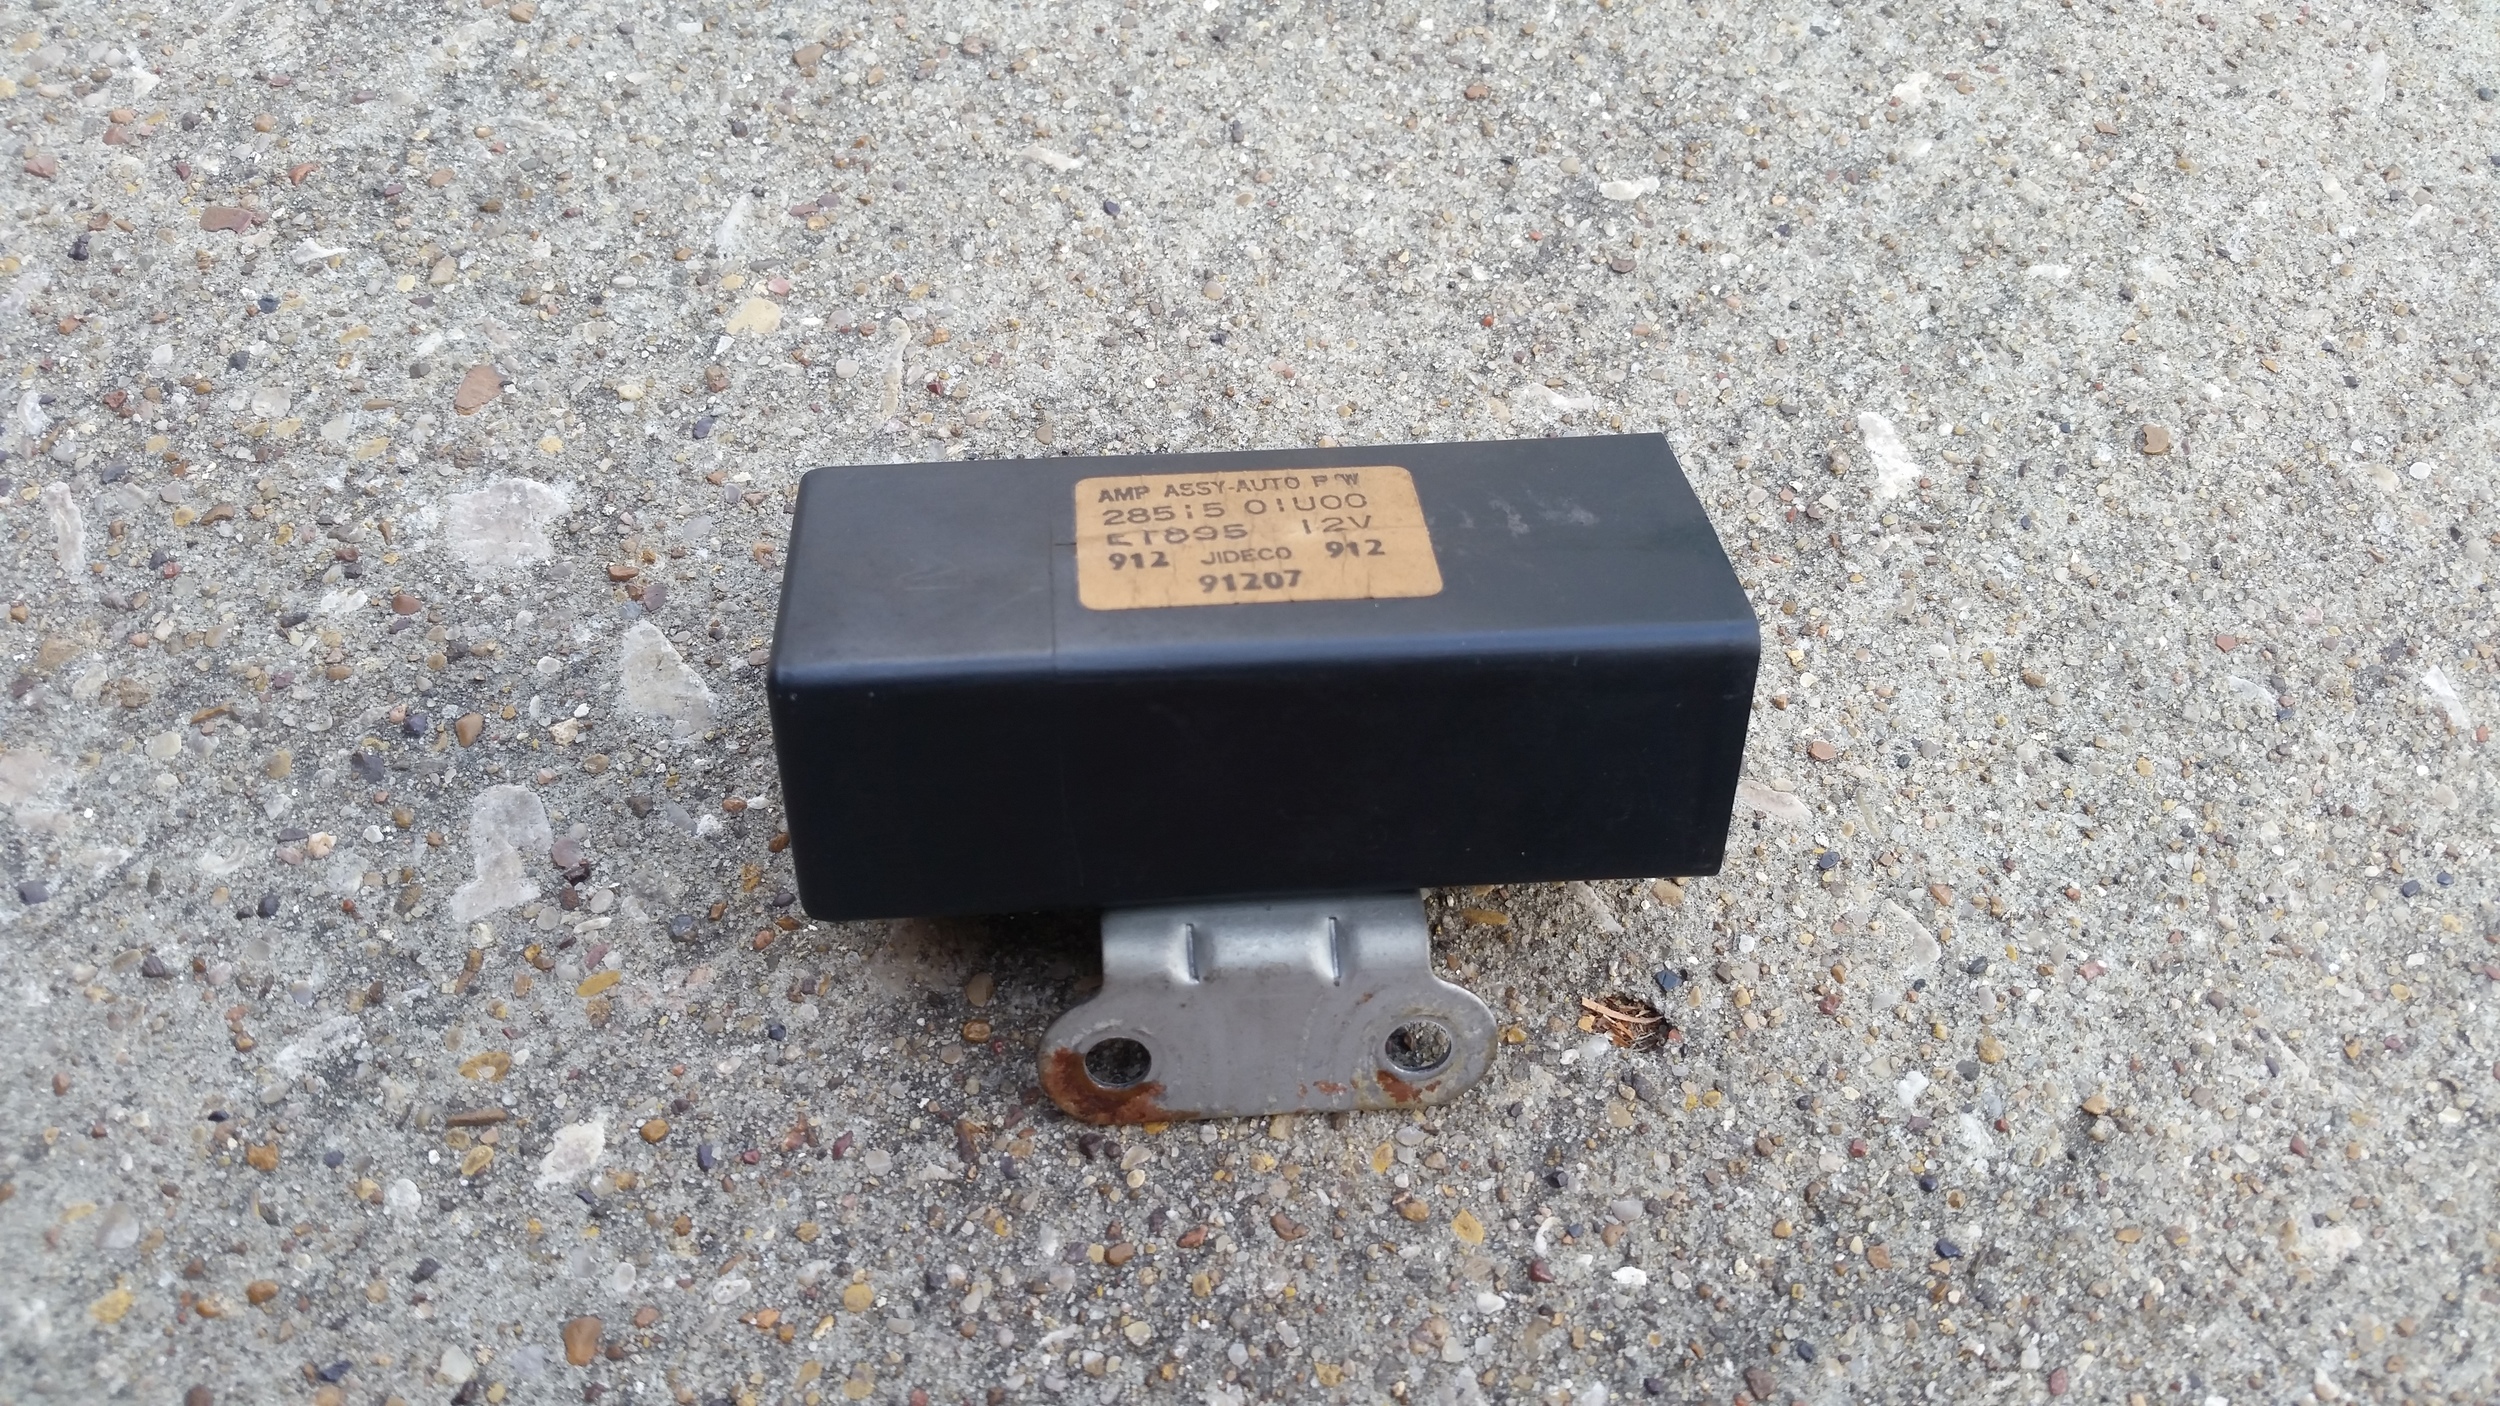
Step 2: With the door panel off, we'll be removing the black box on the inside of the door after unplugging it from the harness. It is held into the door with two gold Phillips head screws. Hold the box while looking at the face that has the attachment for the plug, and pry away the plastic covering using a flat head screwdriver. A green electronic board will slide out of the black box.
Step 3: With the electronics board out of the box, flip it over and inspect the solder joints on the underside of the board. Typically you will find a few of them that look cracked or damaged. The picture below shows the board with the cracked joint circled in red. Notice the difference between the circled solder joint and the ones not circled?
Step 4: Repair the broken joint using your soldering iron and solder. I won't go into detail on how to solder, but it is incredibly easy and solder and an iron can be purchased for less than $20. I bought this kit from Amazon - it came with everything I needed and I have had no problems with it over a year of use. The repaired joint is being pointed at in the picture below.
Step 5: The clip on the inside of the box may have been damaged during prying it apart, so I typically zip tie it together to make sure it doesn't come apart when re-installed. Take two large zip ties and zip them together like in the picture below, and then bolt the black box back into the door. After it's bolted in, pass the zip tie through the harness and then zip tie it around the box.
Step 6: Re-install the door panel by reversing the steps of removal. Enjoy your window that will work for another 25 years!


